- Kentico EMS & Xperience
Front-end web part in Kentico
You may wonder what I mean by a Front-end web part in Kentico. Let’s start with an example. You need to have a carousel on a homepage. As a .NET developer you would create a completely new web user control where you create a html structure for the carousel, fill the structure with content and also load and initialize a javascript library which makes all the carousel magic happen. Then you would create a new web part in Kentico and associate it with the user control. I’ve seen that approach several times on my client’s web sites.
Problem with such an approach is that the implementation is completely hidden in the user control somewhere at the hosting server. When a client asks me to change behavior of the carousel it is impossible to do it because
- clients mostly don’t have an access to the server,
- clients don’t have any documentation,
- clients are not aware of any dependencies so it is easy to break the website.
In this article I will show you an alternative and hopefully a better way on how to implement a functionality which relies on a html structure, javascript library and optionally loading content from the Kentico database. This approach uses out-of-the-box Kentico features and it is transparent because the implementation is completely accessible from the Kentico administration interface.
About the Front-end web part
The Front-end web part has following attributes:
- Inherits from the Javascript web part
- Uses default fields of the Javascript web part to link and initialize a Javascript library
The example of carousel is very common but carousels are too complex to easily explain the beauty of front-end web part approach in Kentico. Let’s go with the Format Google Calendar library which I recently developed and which displays list of events from a Google Calendar. Almost all javascript libraries consist of
- a .js file which implements the whole logic of the library and
- initialization object which specifies behavior of the library.
These 2 parts could be considered as an ascx.cs file (for C# people) because they implement the logic. In the next part of this article follow steps to make the logic easily accessible and editable from the Kentico administration interface.
Creation of the Front-end web part step by step
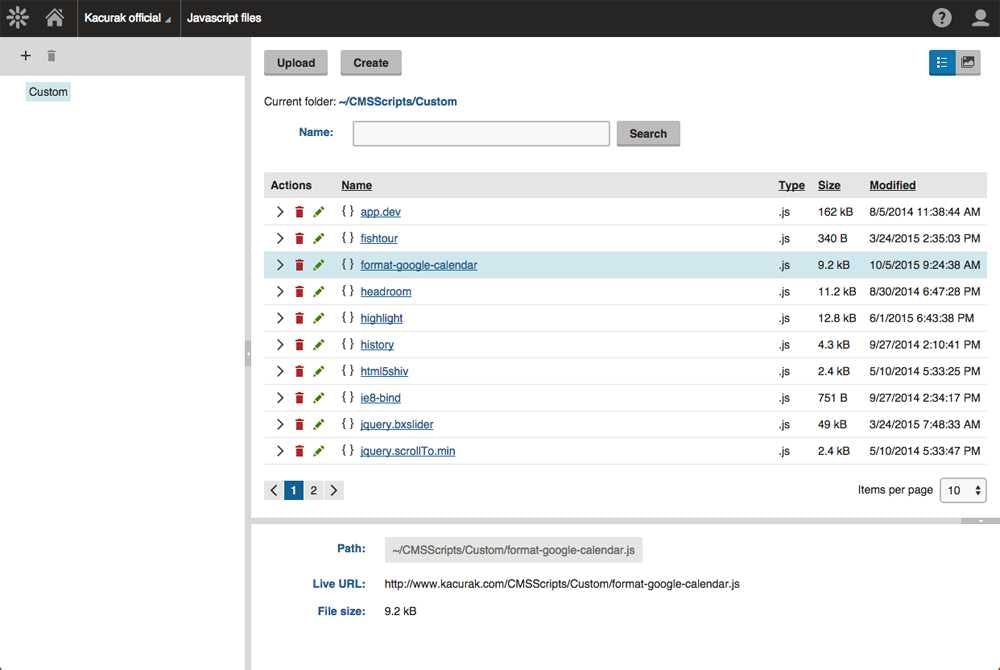
Download the .js file of the library and upload it to the Javascript files application in Kentico.
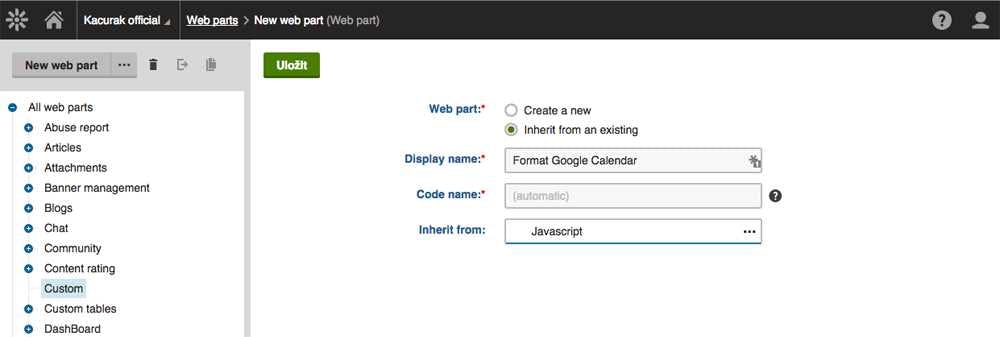
Create a new web part:
- Go to the Web parts application, create a new category by clicking three dots button and call it Custom
- In the Custom category create a new web part
- Choose Inherit from an existing
- Set display name to “Format Google Calendar”
- Inherit from Javascript
- Save the web part
Make the web part load the .js library
- Go to the Properties tab, select the Linked file field and set Default value to Custom/format-google-calendar.js which is path to the library .js file
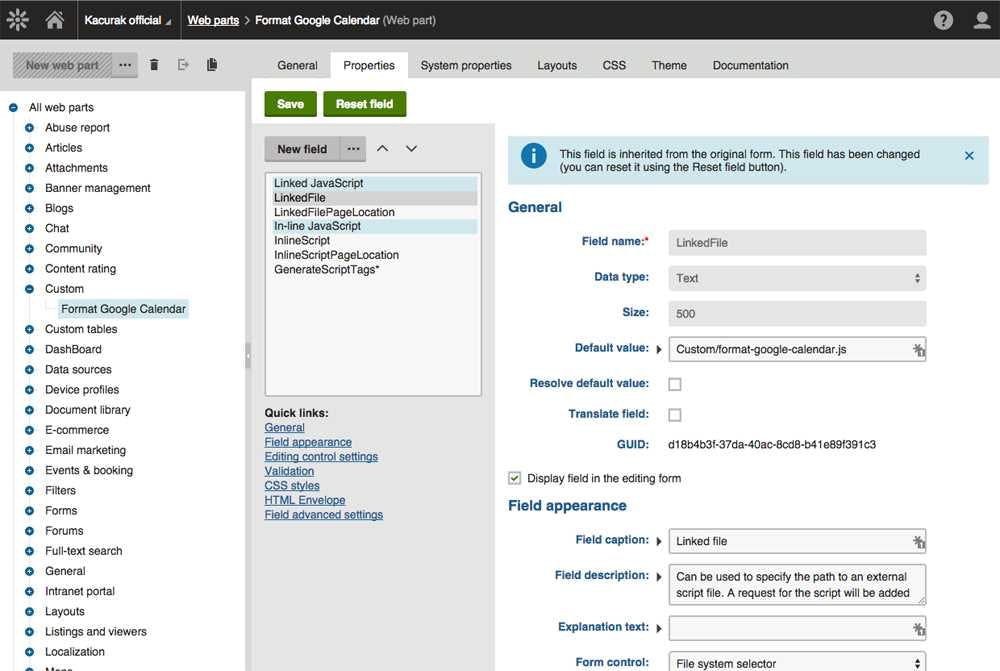
- Switch to the Linked file page location field and set Default value to Startup to load the .js file at the bottom of the DOM
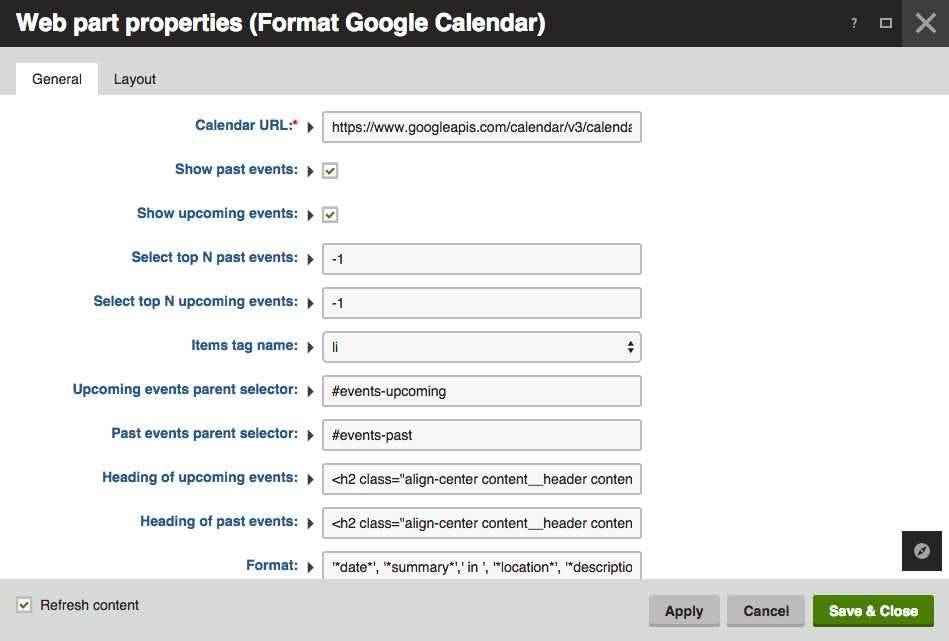
Specify options to initialize the web part
- If you look at the github repository of the library, you can see it could be initialized by a javascript object.
- Modify this object to be able to work with Kentico — we replace values of the object with Kentico macros as follows:
- Switch to the Inline script field and set Default value to the modified initialization function above.
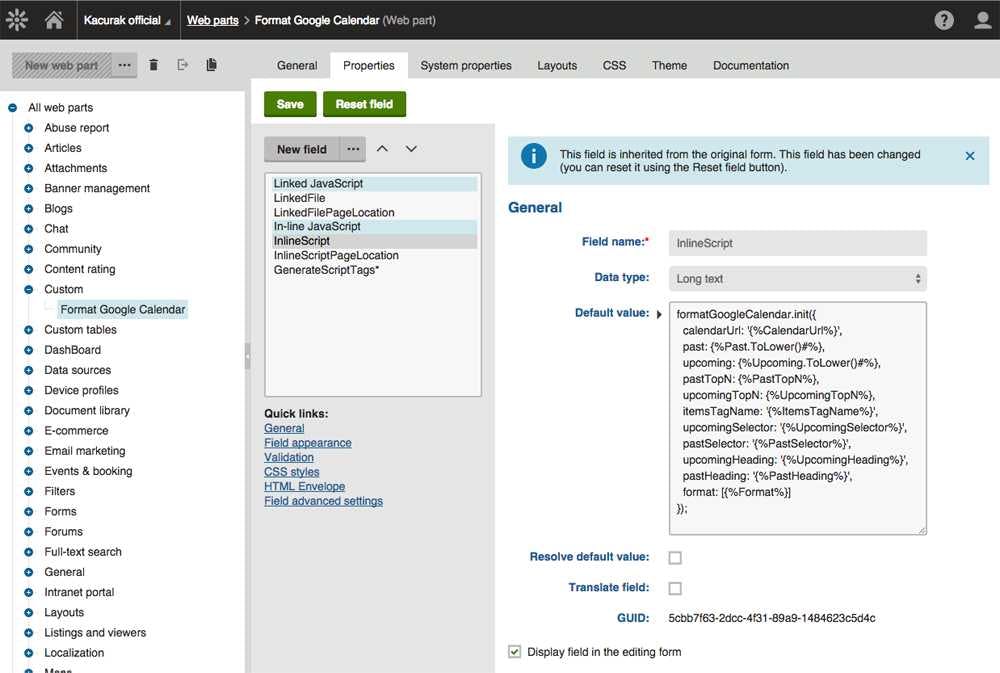
- Switch to the Inline script page location field and set Default value to Startup to execute the initialization at the bottom of the DOM.
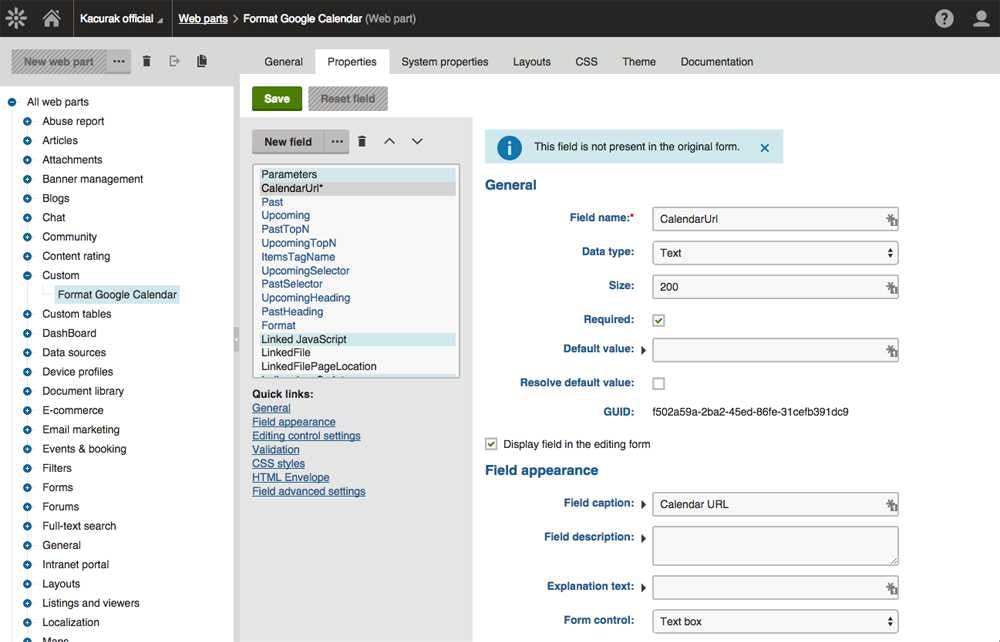
Create custom fields to resolve macros in the initialization object
- Create a new category called Parameters in the fields editor in the Properties tab
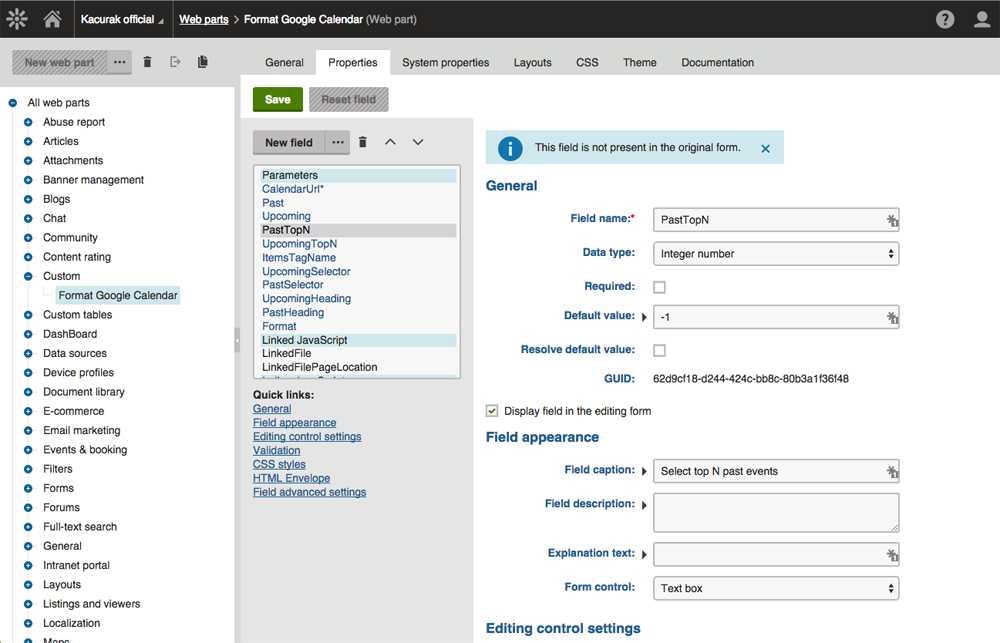
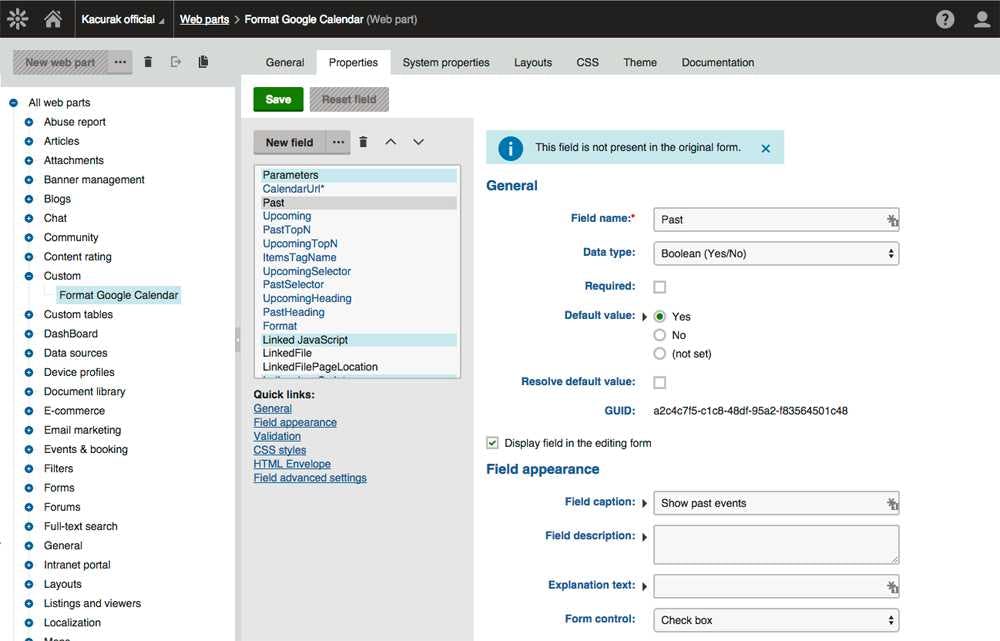
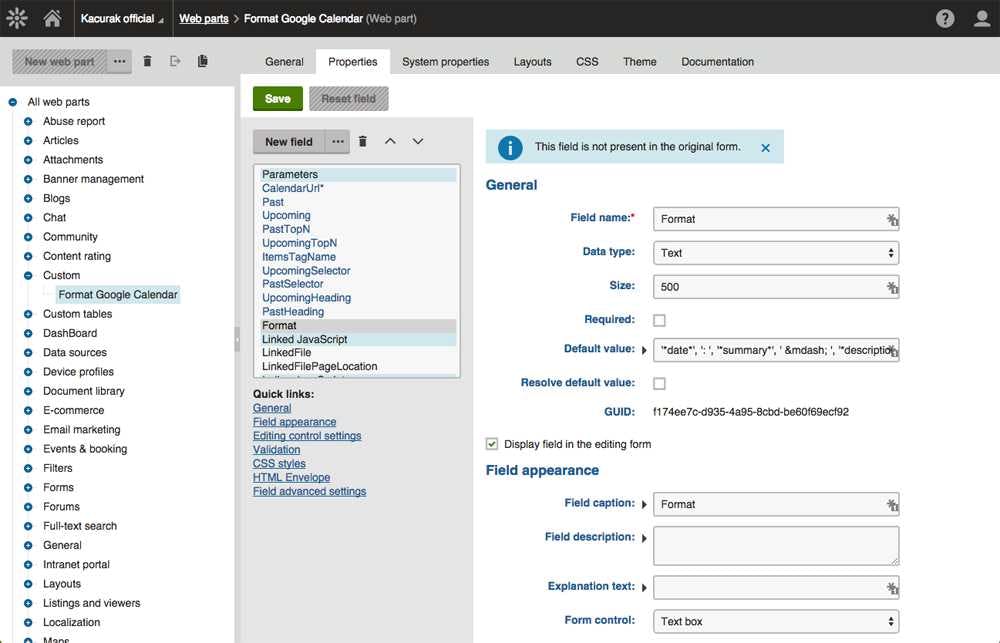
- For each macro in the initialization object create a new field. For data types follow the Option section on the github repository page. Look at following screenshots to get know how to set up fields for each of data types:
- String
- Integer
- Boolean
- Array
And that’s it. We have created a Front-end web part which could be placed in a web part zone.
Make it work with HTML
Such a web part almost always works with some html structure. We won’t include it in the Front-end web part. Instead of that we create the html structure by other out-of-the-box web part like Static text or Repeater.
- Go to the Pages application > Design tab and and select a document where you want to place the functionality.
- The Format Google Calendar needs a html markup like:
- Place a Static text web part in the page and set the Text property to the html markup above.
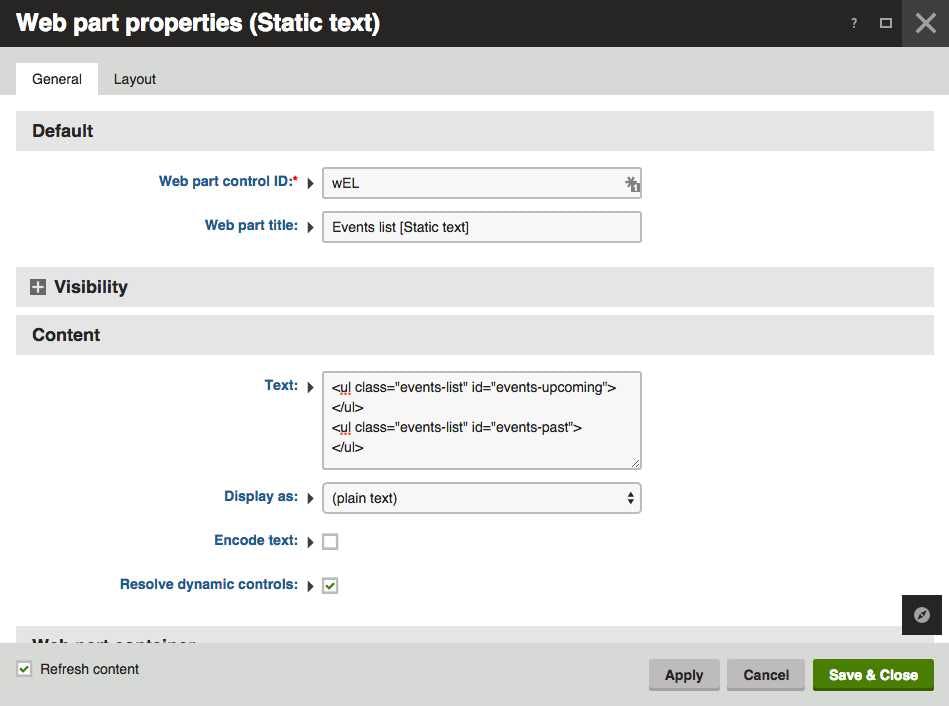
- Then place the Format Google Calendar web part in the web page and set properties as you like.
Now these 2 web parts work together and you are sure that any edits to the functionality could be made in the Kentico administration interface. Access to server, Visual studio and knowledge of C# is not needed. Please, use this approach — you save your clients from a lot of pain in the future.
You can see an example of using this development approach on the get.cloud website I have recently developed for my client Aruba.