Xperience by Kentico Headless channel & Next.js: Data fetching and rendering (Part 5)
In this final part of the series, we continue exploring the building blocks of the Next.js application and outline the actual implementation of fetching data from the Xperience by Kentico Headless channel and rendering it inside the Next.js app. In this article, we will cover setting up the Apollo service for GraphQL integration, creating a GraphQL query, generating TypeScript models, and finally, fetching and rendering the data.
Setting Up Xperience by Kentico with Next.js
To get started, we need to set up an environment where both Xperience by Kentico and our Next.js application run together seamlessly.
If you've followed Part 2 and Part 3 of this series (which I’m sure you have! 😉), your Xperience by Kentico instance should already be prepared with:
✅ Headless content items
✅ GraphQL API enabled and ready
Now, let’s run the instance locally and keep it running throughout the whole process.
🛠️ Configuring Next.js Environment Variables
Next, open a Next.js project introduced in the Part 4 of this series in your favorite code editor. Create a new .env.local file in the root folder. This file will store the necessary environment variables for connecting your Headless channel to the Next.js app.
We need to define three key variables:
XBYK_HOST– Your Xperience by Kentico instance domain host (likelyhttp://localhost:<port>)XBYK_GRAPHQL_ENDPOINT_PATH– The endpoint path for the GraphQL API. (Here’s how to obtain it...)XBYK_GRAPHQL_API_KEY– The API key required for GraphQL API authentication. (Here’s where to find it...)
Finally, we need to define one more variable to complete the configuration:
SITE_URL– Should be equal to your Next.js app host domain, most likelyhttp://localhost:3000.
Once you’ve added these variables, save the .env.local file. It should be like:
XBYK_HOST=http://localhost:43426
XBYK_GRAPHQL_ENDPOINT_PATH=/graphql/400b3f2d-f091-46b2-9340-55bd16c0bfb6
XBYK_GRAPHQL_API_KEY=grLI8FNKjdq/Dbel9jSzu5+L6xE1f7of
SITE_URL=http://localhost:3000
🎉 Running the Next.js Application
Now, you’re all set to run the application! First, open a terminal in the root directory of your Next.js project.
⚠️ Before proceeding, ensure that you have Node.js installed. If not, install it first.
Install Dependencies and start the Development Server
Run the following commands to install all required dependencies defined in the package.json file and then run the development server:
npm install
npm run dev
Verify the Setup 🔍
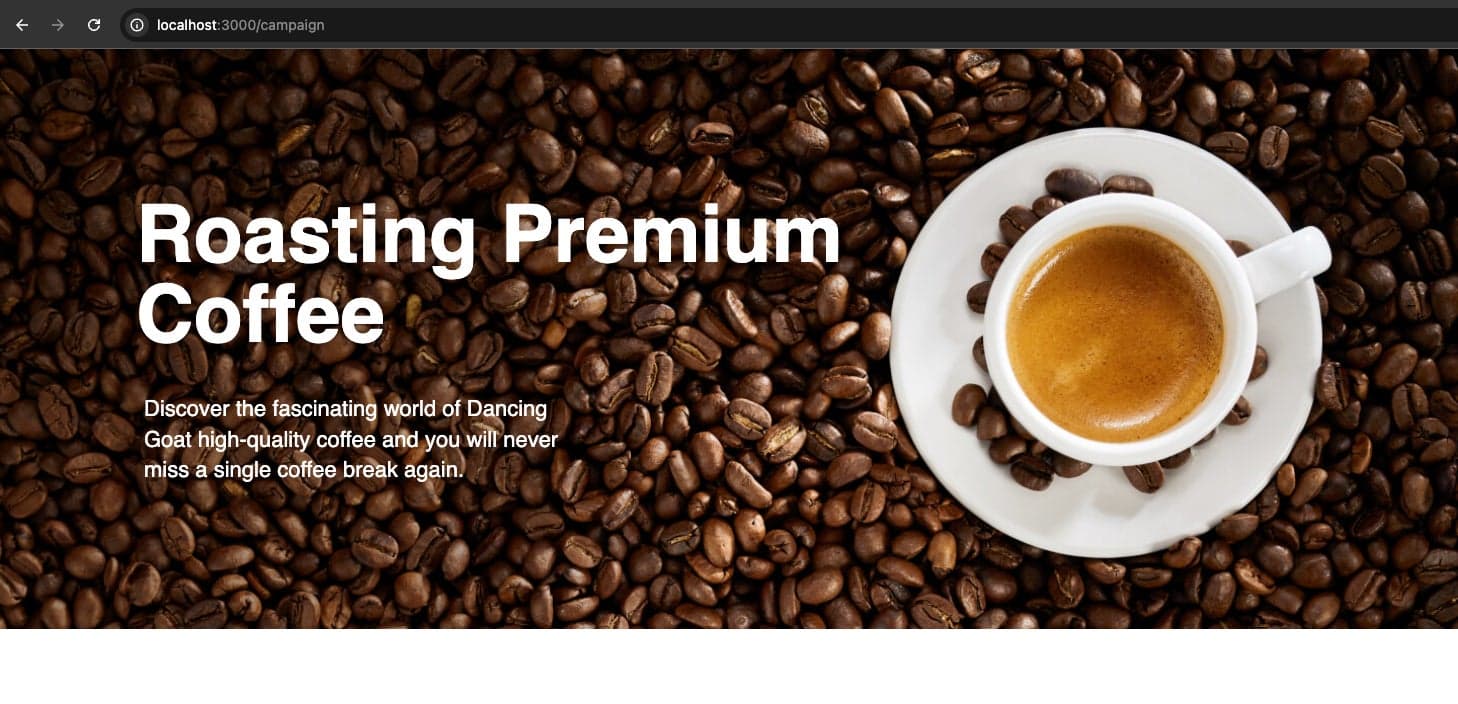
Open your browser and navigate to: http://localhost:3000/campaign. You should see the Dancing Goat Coffee banner displayed. ☕🎭
As promised, let’s now dive into how the GraphQL integration is actually implemented. 🧐👇
GraphQL Integration
As mentioned earlier, the integration consists of the following steps:
- 🛠️ Setting up the Apollo service
- 🔍 Creating a GraphQL query
- 📌 Generating TypeScript models for data from the Headless channel
- 🚀 Fetching and rendering the data
⚙️ The Apollo Service
In the lib/services/apollo.service.ts file, you’ll find a service responsible for fetching data from the GraphQL endpoint. It relies on the Apollo Client, a widely used library for interacting with GraphQL APIs. Additionally, it integrates with a utility library to ensure compatibility with Next.js rendering modes.
The service’s main function is to establish a connection to the GraphQL endpoint and expose a single query method, which:
✅ Accepts a GraphQL query
✅ Fetches data from the endpoint based on that query
✅ Returns the retrieved data
class ApolloService {
    private readonly client: ReturnType<typeof registerApolloClient>;

    constructor() {
        this.client = registerApolloClient(() => {
            return new ApolloClient({
                cache: new InMemoryCache(),
                link: new HttpLink({
                    // this needs to be an absolute url, as relative urls cannot be used in SSR
                    uri: toAbsoluteUrl(XBYK_GRAPHQL_ENDPOINT_PATH, 'graphql'),
                    headers: {
                        authorization: `Bearer ${XBYK_GRAPHQL_API_KEY}`
                    },
                    // revalidate cache after 30 seconds
                    fetchOptions: { next: { revalidate: 30 } }
                })
            });
        });
    }

    public query<T>(options: Parameters<typeof this.client.query<T>>[0]) {
        return this.client.query<T>(options);
    }
}
📑 Creating a Query
The query we use to fetch Banner data for our Campaign page is stored in lib/graphql/queries/campaign-page.query.graphql. It defines which items and fields need to be fetched. This query can be easily assembled using the UI tool provided with Xperience by Kentico, which we covered in Part 3 of this series.

🔔 One more thing to note: To enable TypeScript support for .graphql files, the graphql.d.ts file is required for type declarations.
🛠️ Generating Models
As you’ve likely noticed, the code uses TypeScript for strong typing, which is not a feature of standard JavaScript. Therefore, we need to set up models for the data fetched from the GraphQL API. Since the API is an external dependency, we need to fetch its schema and generate models based on it.
This is achieved using a series of @graphql-codegen/* npm packages. To fetch the schema, you’ll need to create an additional configuration file, which is not included in the repository (it’s a static .yml file containing environment-specific information).
Here’s how to set it up:
- In the project root, create a
codegen.ymlfile. - Add the following content, replacing the placeholders with your actual values from the
.env.localfile.
schema:
    - '<XBYK_HOST><XBYK_GRAPHQL_ENDPOINT_PATH>': # Replace with your GraphQL endpoint
          headers:
              Authorization: 'Bearer <XBYK_GRAPHQL_API_KEY>' # Authentication is needed
documents: 'lib/graphql/queries/**/*.graphql' # Path to your GraphQL operations
generates:
    lib/graphql/models/types.ts:
        plugins:
            - 'typescript'
            - 'typescript-operations'
3. In your terminal, run npm run codegen. This will regenerate the models based on the GraphQL schema and the queries located in the lib/graphql/queries folder.
Now, we're ready to fetch data from the Headless channel and render it in the Next.js application. 🚀
🔄 Data Fetching and Rendering
Let’s head back to our Campaign page located at app/campaign/page.tsx. There, we have a simple but crucial function, fetchCampaignData, which calls the Apollo service, passes the query, and maps the data into the generated model.
export default async function CampaignPage(): Promise<JSX.Element> {
    try {
        const data = await fetchCampaignData();
        const banner = data?.dancingGoatCampaignPage?.banner?.items[0];

        if (!banner) {
            return <></>;
        }

        return <BannerComponent item={banner} />;
    } catch (error) {
        if (CombinedGraphQLErrors.is(error)) {
            throw error;
        }

        console.error('Unexpected error fetching campaign page:', error);
        return <NotFound />;
    }
}

async function fetchCampaignData(): Promise<CampaignPageQuery | undefined> {
    const { data } = await apolloService.query<CampaignPageQuery>({ query: campaignPageQuery });
    return data;
}
Once the data is fetched, we extract the banner item and pass it to the Banner component (components/banner/banner.component.tsx). The component then extracts individual properties, such as the image URL, heading, and text from the banner item object, and renders them in the markup.
interface BannerProps {
    item: DancingGoatBanner;
}

export function BannerComponent({ item }: BannerProps): JSX.Element {
    const backgroundImage = item.bannerBackgroundImage.items[0]?.imageFile?.path
        ? `url(${toAbsoluteUrl(item.bannerBackgroundImage.items[0].imageFile.path, 'graphql')})`
        : undefined;

    const style = backgroundImage ? { backgroundImage } : {};

    return (
        <div className={styles.root} style={style}>
            <h1 className={styles.heading}>{item.bannerHeaderText}</h1>
            <p className={styles.text}>{item.bannerText}</p>
        </div>
    );
}
With this approach, you can easily extend the query with more items and properties, regenerate models, create additional components, and even build a more complex Campaign page. 💻
🚢 Build and Ship
Up until now, the Next.js app has been running in development mode. However, when the app is hosted on the internet, it will be served as a built application. You can, of course, build it locally by running npm run build and then starting the app with npm run start.
When we build the app, it gets pre-generated as a fully static site. At runtime, it tracks revalidation, meaning the Apollo service will re-fetch fresh data from the GraphQL API based on the defined revalidation period. 🔄
For hosting, the easiest and most recommended service would be Vercel or alternatives like Railway. These are serverless platforms, and you’re charged based on usage, which can be tricky to estimate upfront. However, vercel offers a free tier, making it perfect for small projects. 🆓
For a more predictable and likely cheaper option, you can host the site on a VPS with Coolify installed. This, however, requires more configuration work. 🛠️
🎉 And that’s it!
In this series, I provided an end-to-end walkthrough of integrating the Xperience by Kentico headless channel with a Next.js application, along with details about all related technologies. I hope it serves you well as a starting point for your further development.
About the author
Milan Lund is a Full-Stack Web Developer, Solution Architect, and Consultant for Xperience by Kentico projects, working as both a freelancer and a contractor. He specializes in building and maintaining websites using Xperience by Kentico. Milan writes articles based on his project experiences to assist both his future self and other developers.
Find out more